My Most amazing vintage hen do!

P1090934I cannot tell you how excited I am to share this post with you! In April my beautiful and lovely bridesmaids came together to arrange THE best hen do EVER! I never knew that my friends could be so sneaky but they somehow managed to arrange the whole weekend’s shenanigans without me knowing a single thing about where we were going and what we were doing.
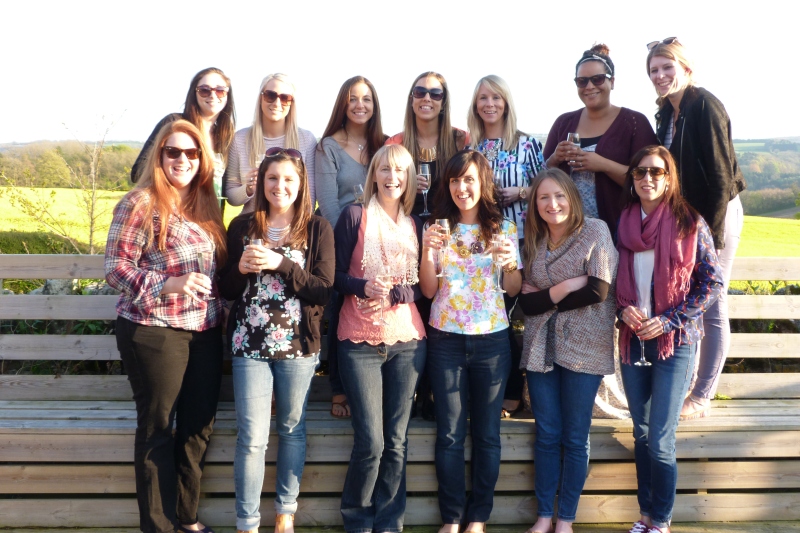
vinaThey rounded up 13 of my most fabulous friends and headed off to a stunning cottage just outside of Bristol. The cottage was beyond beautiful and we were surrounded by sunshine yellow rapeseed fields. I love the vintage, country vibe so this we right up my street. They had covered the cottage in bunting and pictures of everyone, including some for maximum embarrassment on my behalf (sorry mum!)

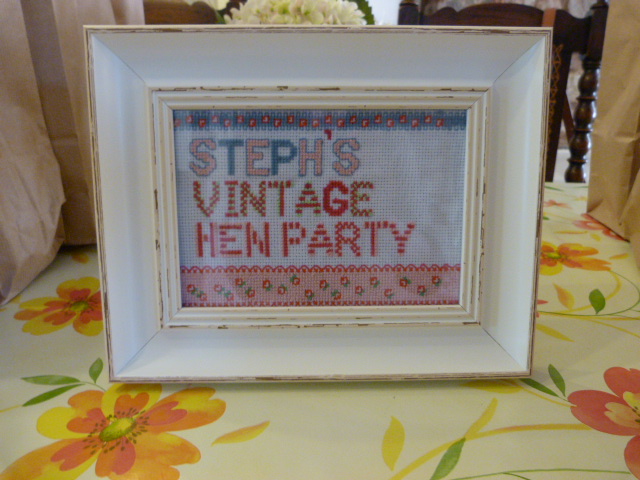
rapeseed fieldsI arrived with one of my bridesmaids and approached the cottage door where I saw a sign ‘Steph’s vintage hen do’- perfect for me! It was so lovely to see all of my friends waiting inside and after a lot of bouncing and screaming we opened the bubbles (and didn’t put them down for the rest of the hen!).

vintage henP1090799On Friday evening we stayed at the cottage and enjoyed a BBQ in the garden. We were so lucky with the weather and so we sat outside and soaked up some sun. The rest of the evening was spent drinking and playing games (what’s a hen do without a game of Mr and Mrs hey?) We also had some goodie bags, keeping us well stocked on sweeties, party poppers, cosmetics and the all important paracetamol for the next morning. We partied until 3am as we were so excited!!!
vintage hen signThe next morning was nice and chilled as we nursed our hangovers. The girls then told me that we were having Lady She and her friends come to the house to give us all vintage makeovers 1920-1950s. Ahhhhh! And then we had Pinky up come to host a tea party for us (I have a bit of an obsession for vintage tea sets). Ahhhhh!

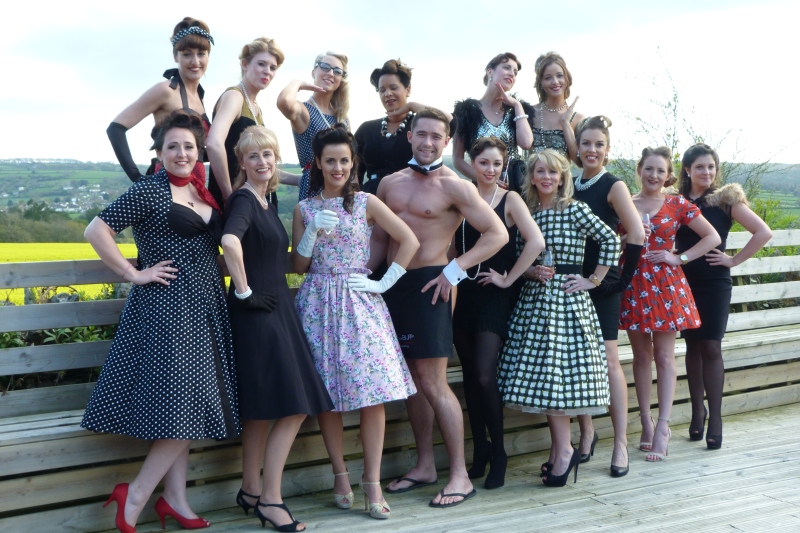
vintage make-overLady She and her lovely ladies were wonderful. They listened to all of our preferences and the style we wanted to try to re-create and then they worked their magic. Initially some of the girls were a bit worried when they had their make up done as it is such a heavy, dramatic look which is different to most of our styles. However, when they had styled their hair everyone loved their make overs! The whole look really came together. I was so excited about my look and I couldn’t stop staring at myself in the mirror. I wish I had the time to look like that on a daily basis, especially my hair…I loved it so much. Can you tell how happy I was by my big cheesy grin?!
P1090884
tea partyWe all then gathered in the dining room for our vintage tea party which was beautifully presented and tasted delicious! Finger sandwiches, cup cakes, scones, quiche, brownies…so much yummy food and some pink bubbles to wash it down with. As we were tucking in there was suddenly a knock at the door. My stomach sunk as I was pretty sure that knock = nakedness. As I looked through the small window in the door all I could see was flesh and floral! There was a rather lovely naked butler holding onto the most beautiful pink floral dress. My exact words to him were ‘Is it wrong that I’m more excited about the dress?’ Haha.
vintage and butler in the buff
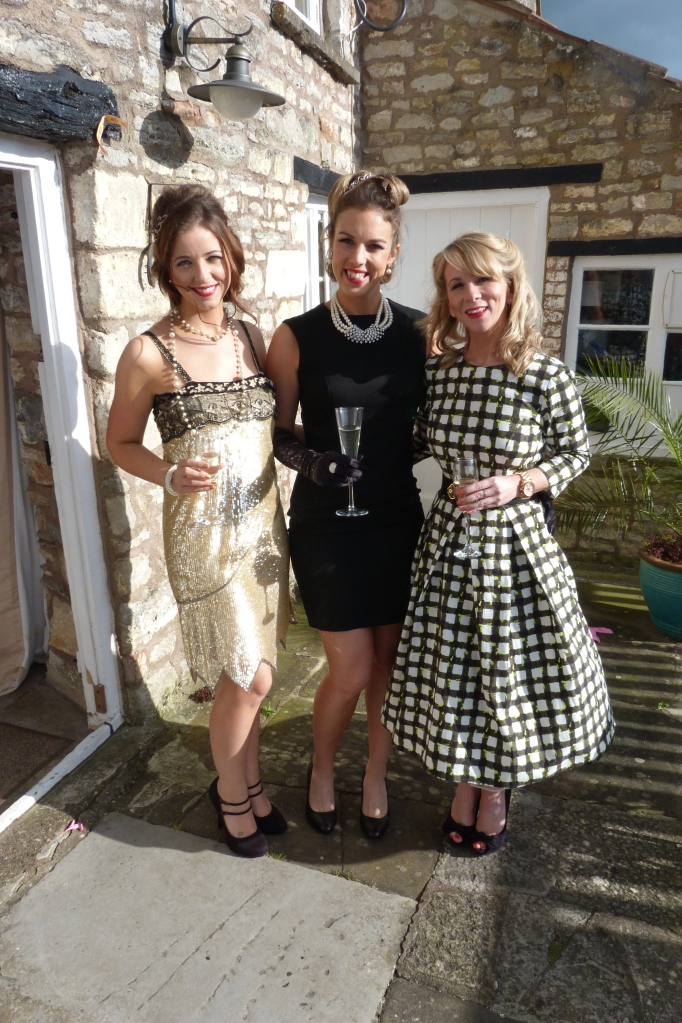
He was very attentive and kept our drinks well topped up. He also joined in with the games we were playing so it was a nice bit of nudity added in rather than a cringe worthy experience. We all then went and changed into our outfits ready for a night out. It was so lovely to see everyone transformed and looking like proper ladies with their puffy or flapper dresses. After a long-old photograph session we headed out for dinner followed by a night out in Bristol. It was such a good night and it just flew by! When we headed home we (mainly I) wasn’t ready to go to bed and so we stayed up dancing the night away until early morning.
vintage hensvintage hen
I had the most amazing weekend with my nearest and dearest and I was so sad that it had to end. I love looking back at all the photos and keep smiling at all the funny memories…we always have the memories.
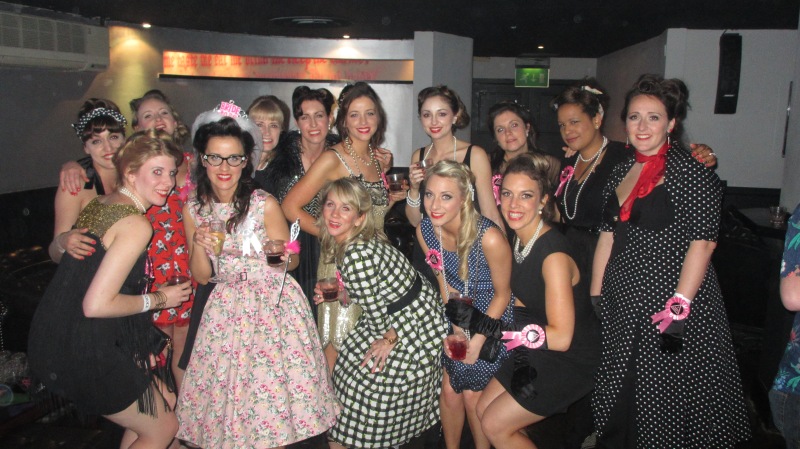
vintage hens night outvintage bridesmaidsvintage bridesmaids

Clear skin regime

Since college time I have always suffered with my skin. Blackheads peppering my nose and horrible white heads appearing on my ‘beard’ area (isn’t that the worst term when you’re feeling awful about your skin anyway) as if in a matter of minutes! “I swear you weren’t there when I last looked in the mirror!” My skin is also a bit strange as I don’t massively suffer from oily skin, in fact I have been told that I have dehydrated skin instead. Don’t get me wrong, I get a bit of an oily t-zone by the end of the day but nothing major. The dry patches are worse.

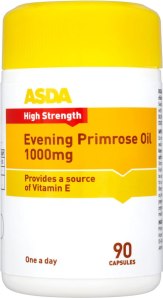
evening primrose oilI have tried so many things to try to help. I spent a fortune having pumpkin peel facials where my skin was left peeling off my face like sunburn. It did do great things when I was having it done every 2 weeks but at £70ish a pop you can’t keep that up for long! Some people had great results with a monthly facial but it didn’t seem enough for my skin. I would highly recommend to anyone giving them a go though as it might work for them! Here’s the link of the place I went Clinic Beauty and they were lovely in there!

So after years of trying what seemed like everything, my skin seems to be calming down. I can’t say it’s ‘clear’ but it is 100% better than it used to be and even during that fun time of the month, I am having minimal breakouts. I thought I would share my new regime for anyone out there like me, that was willing to try anything! It’s not going to cost a fortune either which is always a bonus!

Effaclar DuoCicaplast Baume B51. Evening Primrose oil. A friend suggested this to me and I think it’s making a big difference. I’ve heard it’s also good for people who don’t drink enough water!

2. La Roche-Posay: Effaclar Duo. I’m sure you’ve seen a billion reviews of this magical cream so I won’t bang on about it again here except to say I LOVE it!

3. Cicaplast Baume B5- one you might not have heard so much about but it’s for dehydrated skin. My skin feels amazing and so moisturised when I put it on. Might be too greasy for those with oily skin.
Salad

4. Salad and fruit- I have switched by carb lunch for a healthier salad (part of my wedding preparation) and I think this is making a difference to the whole of my body!

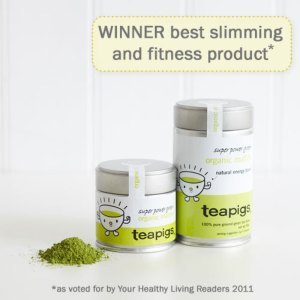
matcha-product-image5. Teapigs Matcha green tea- This stuff has a million reasons why you should start drinking it. I cannot pin point out of these 5 steps which has been the most beneficial for my skin, however, I have run out of Matcha tea and my skin has started breaking out again (a little) so I am ordering myself some more of this magic tea to see if I notice a difference when I start-up again. It makes you feel great and full of energy too- win win.

Let me know if you have tried any of the above steps and noticed any difference. I would also be interested to hear your clear skin tips!

DIY photo coasters

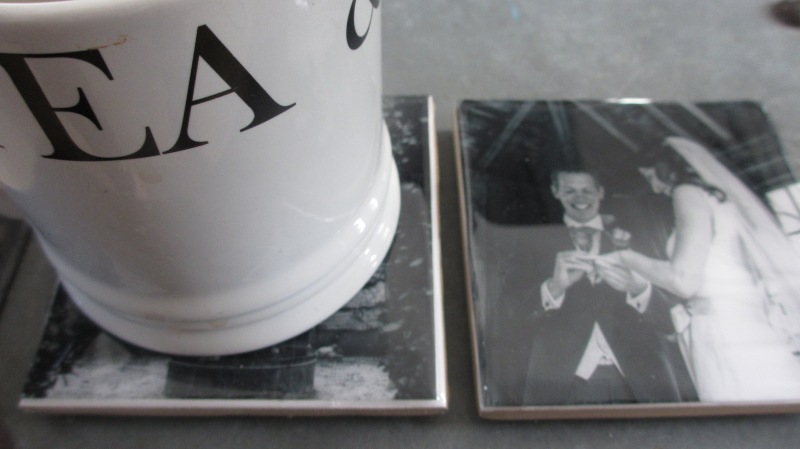
personalised coasters

Hello! Today I want to share with you my new DIY coaster which are relatively easy to make yourselves at home!

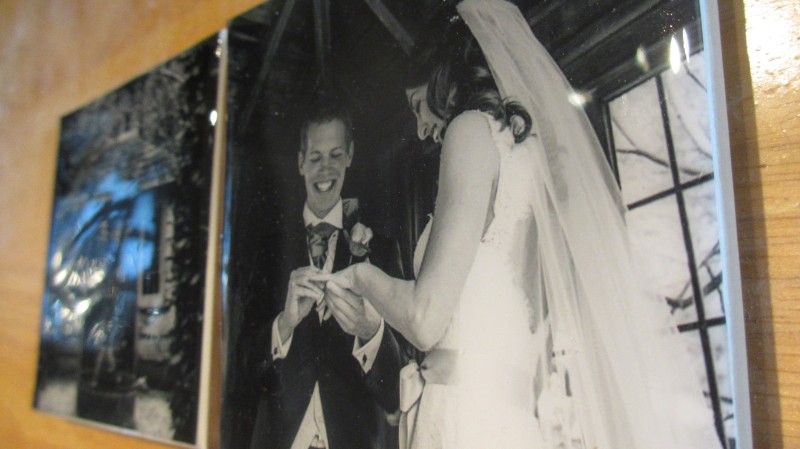
I decided to make these for my parents as it was their 20th year wedding anniversary and so I wanted to give them something a little more personal. Parents love photos of their children so I had to include some wonderful moments from my sister’s wedding but I also managed to get hold of some of their holiday snaps from over the years so included them too.

What you will need:

  • Tiles. I used 10cm x 10cm and in white, however you can use whatever size  you would like.
  • Photos re-sized 10×10.
  • Glue (I used glue spots but I would now recommend using PVA glue as the dots made the photos slightly raised on the tiles.
  • High gloss finish resin
  • felt or plastic dots to sit on the bottom of your coasters to stop them damaging your table.
  • Spreader
  • Straws

cutting tileglue dotsFirst of all, cut you photos out so that they are slightly smaller than your tiles. I picked my tiles up from B&Q but you can get cheap tiles from most DIY shops. I initially cut the photos the same size but this meant the corners were difficult to seal so make sure you make the photos a bit smaller. Once you have done this, glue them onto your tiles and let the glue dry otherwise your photos will be sliding all over the place!

resin on tilesI used Enviro Tex Lite pour on high gloss finish resin. You can pick some up on Amazon here. Follow their instructions to mix the resin and the hardener, making sure you measure your quantities. I mixed mine in used baby jars but the bottom of a milk carton will work or anything with a flat bottom you don’t mind ruining.

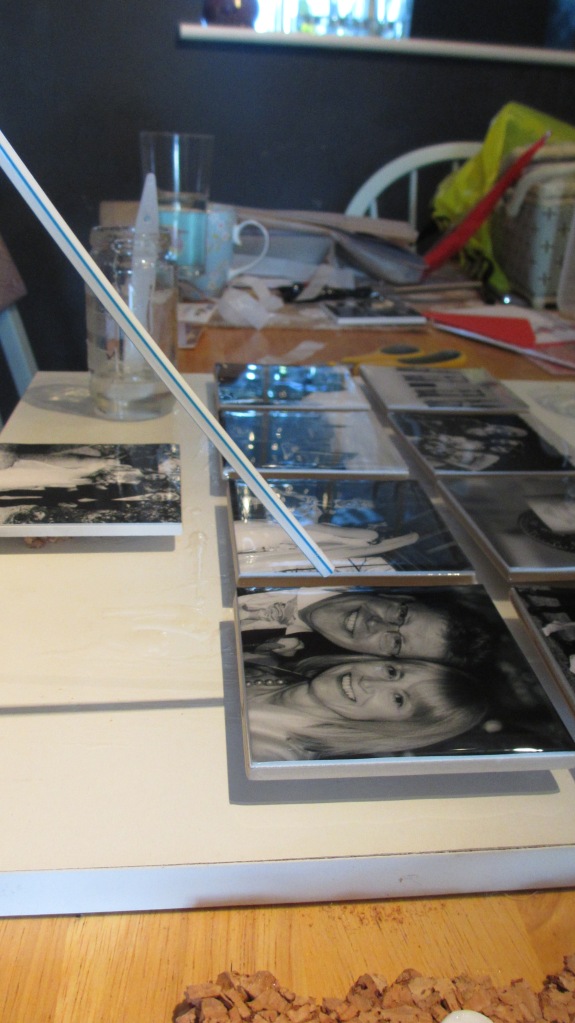
Place a plastic table-cloth or an old bit of wood down so that your table doesn’t end up with hardened resin all over it and then place your tiles on something smaller that will raise them off of the surface (I used small bits of cork board). Pour the resin on top of your photo (I found it easier to pour a blob in the middle) and then spread it out with something flat, allowing the resin to pour down the sides of the tile. This will mean your corners are sealed and less likely to peel away. Now grab your straw and blow all those bubbles that are forming on the surface. As you can see from the photo, I always work in a clutter free, tidy environment!

Allow to dry for approx 24hrs. I finished mine by placing plastic bumps on the bottom to protect the table.

blow out those bubblesAnd now you have some amazing personalised coasters!!! Will you have a go at making some for yourself or as a present?

peronalised coaster


Soton meet up

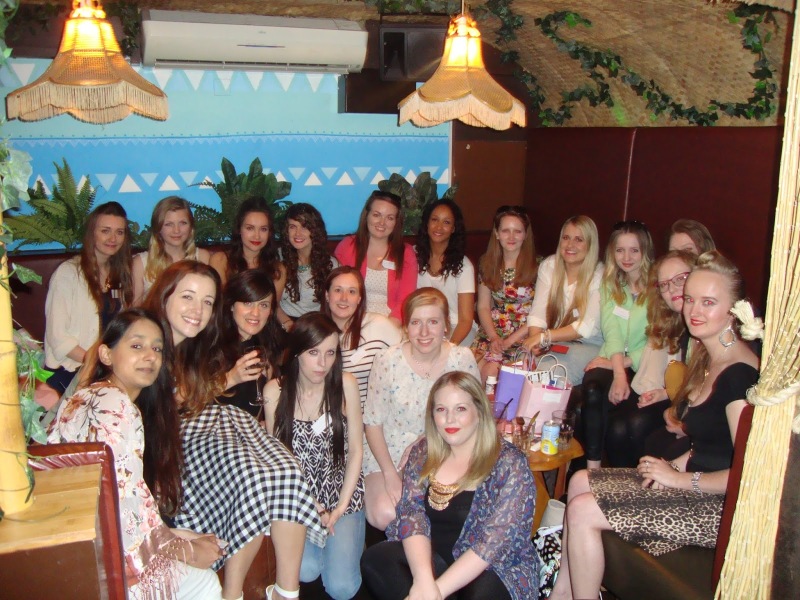
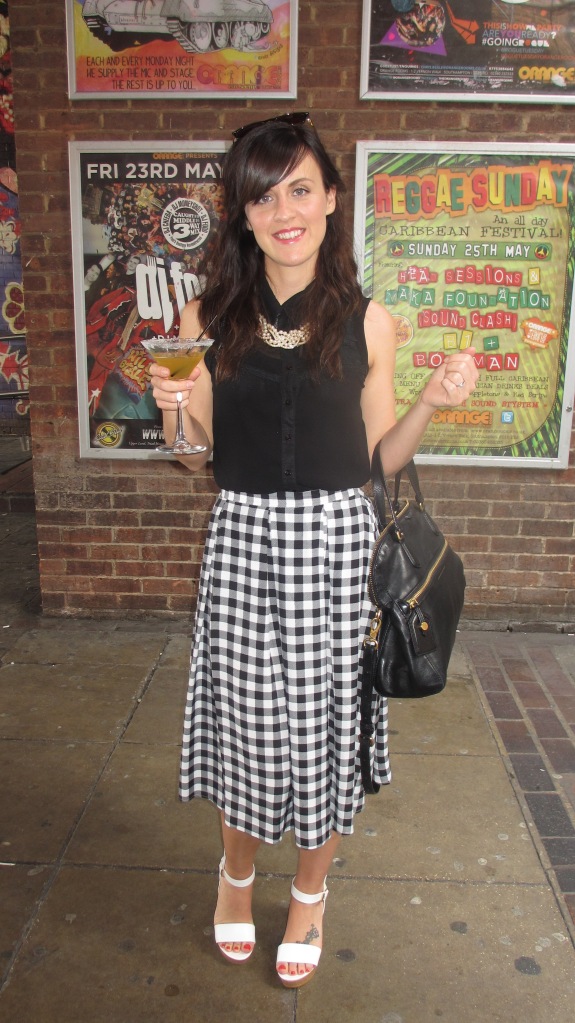
meet upYesterday, a swarm of bloggers took over Orange Rooms, Southampton for a meet up arranged by Anniewritesbeauty and Amzyinwonderland. It was an opportunity for us to come together to discuss blogging and everything that goes with it. It was great to be able to meet people who had similar interests and are passionate about blogging, from a range of backgrounds and age ranges.

Soton Meet up group pictureI am a local so I frequently visit Orange Rooms. Not only is it a great place to go for a spot of lunch but it also a fab bar to visit in the evening. The atmosphere is always upbeat and everyone is out for a good time and to listen to some great music. The only negative is that it is a little tucked away and so they do not have an outside area which is exposed to sun. There is an outside area at the front but it’s always in the shade, which is a shame as yesterday was glorious!
Soton bloggers

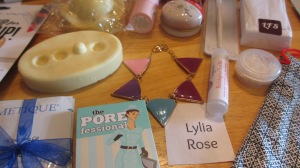
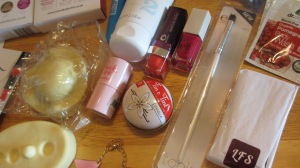
We all started with a few drinks outside as everyone began to mingle. In the heat, cocktails were a must and it also gave everyone that dutch courage to talk to all of the strangers! We then moved to our reserved area upstairs and enjoyed some of their delicious food. I had a Pepper wrap which was yummy. Alice and Amy had arranged a raffle with various prizes and they also had goodie bags for us all! I could not believe the amount of gems that were hidden in our bags (they were full to the brim). Some of the amazing brands who supported the Soton meet up were; Lush, Topshop, Manuka Doctor, elf, LFS, miners and nspa to name a few. I look forward to sharing some reviews with you another time.

BellsBowsandBella

Orange Rooms food

The thing that I really enjoyed about the meet up was being able to discuss some of the things I find tricky about blogging and to find out I’m not the only one who feels that way. I also got a few tips and tricks which I will be looking into further. It has also given me a new push to start posting more regularly and to start scheduling my posts so that I am being consistent during busy times in my life (having started a new job and planning a wedding, that seems to be all the time at the moment).

Soton meet up goodie bag
Soton meet up goodie bagSoton meet up goodie bag 3Thanks to our fabulous hosts for arranging such a successful event.

A crisp, sunny adventure

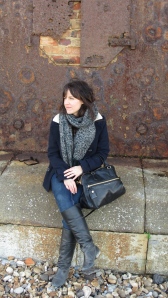
IMG_1825This weekend, we have had a sneak peek at the big yellow thing in the sky. Something that seems like a distant memory quite frankly. Well, since it decided to shine on a crisp Saturday afternoon I thought it would be rude not to go and bask in it!

Living in Southampton means we have easy access to lots of naturally beautiful areas. The New Forest is on our door step as are some lovely beaches. Steve and I have a couple of beaches that are our favourites so we decided to head off to Hurst Castle to explore. We have been here many times and really love it. It’s a stone beach but there are lots of big rocks to climb on and if you are feeling fit there is a loooonnngggg walk to reach the castle.

IMG_1832
Well we thought we would do the walk this time and I forget just how long it takes! It looks a long distance but in reality it is even longer. It takes about 40-45mins each way I would say and walking on gravel and stones they whole way there- well my thighs got a good old work out!

Luckily I had bought some of my chocolate whoopee pies with me (you can get the recipe here)so we could re-fuel when we got to the castle. You can go and explore inside but it will cost you £4.50 for the pleasure. We took some pictures, had a bit of a mess around and then decided to head back (should have put longer on the car).
IMG_1822IMG_1823IMG_1831IMG_1816

What I’m wearing: Coat by Henry Holland at Debenhams/ scarf ASOS/ Boots ASOS/ Jeans Levis/ Bag Marc Jacobs

What did you do this weekend to enjoy the sunshine?

Chocolate Whoopie Pies

IMG_1818Well have I got a treat for you today! I have been having a very healthy weekend making these little treasures and I am writing this post whilst indulging in nachos with cheese running down my chin- I’m a bride in training don’t you know?!

Today was the first time I have ever baked or even tasted whoopee pies. I saw the recipe in my Mary Berry cookbook and thought I would give it a whirl. I wish I had actually seen some pictures of what they were meant to look like before I started as they aren’t the traditional shape. I don’t know why but I had it in my head they were meant to be oval shape! I also thought they were similar to macaroons before I looked at the recipe so it’s a miracle these weren’t a complete disaster really!

Please take the time to swoon over my beautiful vintage style cake stand whilst you’re at it!

Ingredients:

    • 375g (12oz) plain flour
    • 60g (2oz) cocoa powder
    • 1/2 tsp bicarbonate soda
    • 150g (5oz) soft butter
    • 200g (7oz) light muscovado sugar
    • 1 large egg
    • 300ml (1/2 pint) soured cream

Filling:

  • 125g (4oz) soft butter
  • 250g (8oz) icing sugar, sifted
  • 1tsp vanilla extract

Topping:

  • 125g (5oz) icing sugar
  • 2tbsp cocoa powder
  • 2 1/2 tbsp cold water
  • Sprinkles to decorate if you so wish.

Method:

IMG_1801

  • Line 2 baking trays with baking parchment. Sift the flour, cocoa powder and bicarb into a bowl.
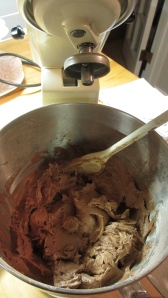
  • Put the butter, sugar, egg, and soured cream into another bowl, and beat with an electric whisk until evenly combined and smooth. Add half of the flour mixture and beat until smooth, add the remainder until thick but smooth.
  • Place 15 rounded spoonfuls of the mixture onto each baking parchment, leaving room between them for the cakes to spread during baking
  • Bake in a pre-heated oven (180 degrees C, 160 fan, gas 4) for 15-20 minutes until risen and firm to touch- they will be cracked in the middle slightly. Leave to cool and then transfer to a wire rack to cool completely.
    IMG_1804
    • Make the filling by putting the butter into a bowl with 1/2 of the icing sugar and beat with an electric whisk until creamy. Add the remainder and beat again then stir in the vanilla extract. I matched up the cakes halves with a similar size/shape one and then spread the filling onto one half. Sandwich them together.
    • Make the topping by sifting the icing sugar and cocoa powder into a bowl, add the water and mix into a smooth paste. Spread the chocolate topping over the top (and best looking half) and then add sprinkles if you wish. I found the sprinkles didn’t stick very well so decided against.
      IMG_1808IMG_1810IMG_1812IMG_1817


    They really are delicious and well worth a go. If you enjoy making cupcakes you will enjoy making these. I found the sponge was very moist and not too heavy and the whole thing was filling but didn’t give you that ‘I want to go into a cake coma’ feeling. Even Steve, who doesn’t have a sweet tooth (I know, why am I marrying him?) really liked them and is looking forward to helping me finish off the batch!

      Let me know what you think and please share any whoopee pie recipes in different flavours as I will definitely be trying these again.

      This recipe is from ‘Mary Berry’s complete cookbook’

    IMG_1816

O.P.I steady as she rose nail lacquer

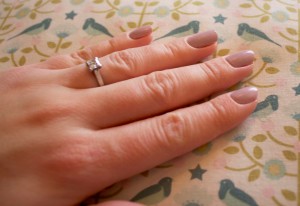
After spending the last week or so wearing a beautiful bright yellow Deborah Lippmann shade, I decided to try out my new muted, pastel-purple colour by O.P.I.
polish 1IMG_1809

I found this little beauty, along with O.P.I’s Matte top coat in the bargain bin section whilst I was waiting for my facial (literally my favourite part of each month). I love O.P.I nail varnishes as they always seem to last ages and I love the cute names! This one is called ‘Stead as she rose’ and is a very light violet shade and it’s very vintage looking.

polish 3 copyI used 2 coats to get the block shade and then painted O.P.I’s Matte top coat on top. This is the first time I have used a matte varnish and I was a little sceptical that it wouldn’t apply very well and it would join all of my other novelty polishes at the back of my beauty box never to been seen again (yes I’m talking about you crackle varnish!) However, this is great and I know I will be using it on top of all my varnishes.

See if you can grab yourself a bargain too as they were only £5 each!

Embroidery hoop wall decorations!

Todays post takes the form of an interior fix! My house, like many of yours I’m sure, is full of photographs. Photos of people Steve and I love, photos of beautiful places we have been, photos of beautiful places we are yet to go. I have come to a point where I think, a line has got to be drawn somewhere- No more photos! I am not a minimalist sort of girl so I am not a fan of a blank wall when it is calling out to have something hanging on it! But with my photo ban, I have had to come up with something else. Que. Pinterest! God, don’t you love that site!

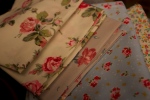
I saw a pin of fabrics and embroidery that had been placed in embroidery hoops which covered the whole wall. Well, being a crafty lady myself, I adored the idea of this! It’s a quirky way of displaying some of my favourite fabrics and showing a bit of my personality. I slowly built up my collection, buying fabrics as I saw them and I’m not entirely convinced I am finished yet.

This is hanging on my side of the bed by a window. There is the same size piece of wall on Steve’s side (with an arch next to it) and he has some photos of Australia hanging. Originally I wanted to have his side of the wall covered in pictures in different mis-match frames and have a ‘his’ frame at the top and a ‘hers’ hoop at the top of my side but Steve squashed it! I still really like the idea but looks like I’m going to have to work a bit harder to convince him on that one!

What home decoration have you been doing lately? Do you think I should add some more hoops or do you think I should leave it like this? I would appreciate your comments.

Deborah Lippmann ‘Walking on sunshine’ nail polish

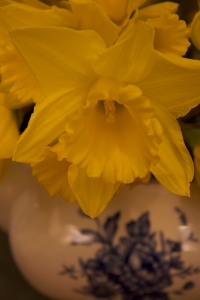
IMG_1784I’m usually more of a pastel, red, nude kinda nail polish girl but I thought in response to the beautiful daffodils I have on my 1960s trunk/coffee table I would give my nails a bit more of a va va voom and sport this gorgeous yellow nail polish.
IMG_1786
The polish is a Deborah Lippmann varnish and is called ‘walking on sunshine’- cute hey! I cannot tell you how many compliments I have had on this colour since wearing it, which has increased my confidence as like I said, it’s a bit brighter than I’m used to.

IMG_1790I found the polish lasted just shy of a week before the chips began. That being said I didn’t put a clear polish on top so I expect it would last even longer when you do. I found that I needed to apply 3 coats to achieve a solid colour but being persistent is worth it. The thing I also liked about this nail varnish is how quickly it dries! I always seem to end up with bed prints all over my nails despite painting them early evening but not with this one.
IMG_1789
The price tag on this is 16GBP which is more than I usually like to spend on a polish but it did last a long time and the speedy drying is always a bonus.

You can buy this product at lookfantastic.com

This product was sent as a sample but this is an honest review, only expressing my own opinions.

Homemade burlap printed coasters

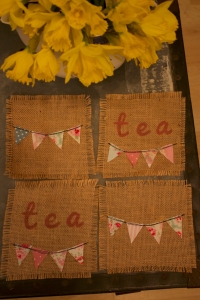
Hello! Today I wanted to share with you a little homemade craft project I have completed. As you may have seen from my previous posts burlap placemats I am a big fan of this fabric and also printing. I have dabbled in lino printing and this time I have been experimenting with stencil printing.

IMG_1783

I had been looking for coasters to go with my old 1960s trunk for quite a while. I had found some slate ones which I really liked and went beautifully with the style of my living room BUT they stained like crazy! Putting anything on them would cause watermarks which was driving me insane! So, I decided to get my trusty burlap, fabric and paints out and get thrifty.
IMG_1803
They are super simple but very effective. Simply cut the size square of burlap you want. The trick with cutting burlap is to cut along the single thread (this may not appear to be a straight line- put your tape measure away!) I then pulled off a couple of threads along each side as I like to have a frayed edge.
IMG_1804IMG_1801

Next, cut out some triangles of any fabric you like and arrange it on the coaster and then sew a line using your sewing machine (you could also do this by hand if you don’t have a machine). I printed out some different fonts that I really liked and then used a craft knife to cut around the outsides of the letters, leaving a template to stipple paint onto the fabric.

Hey presto, you have some fabulous homemade coasters! I decided to make 2 different variations as I like a bit more of a mis-match effect but you could take any approach you want.

Let me know what you think. What crafty projects have you done using burlap?! Next burlap project…wedding bunting!